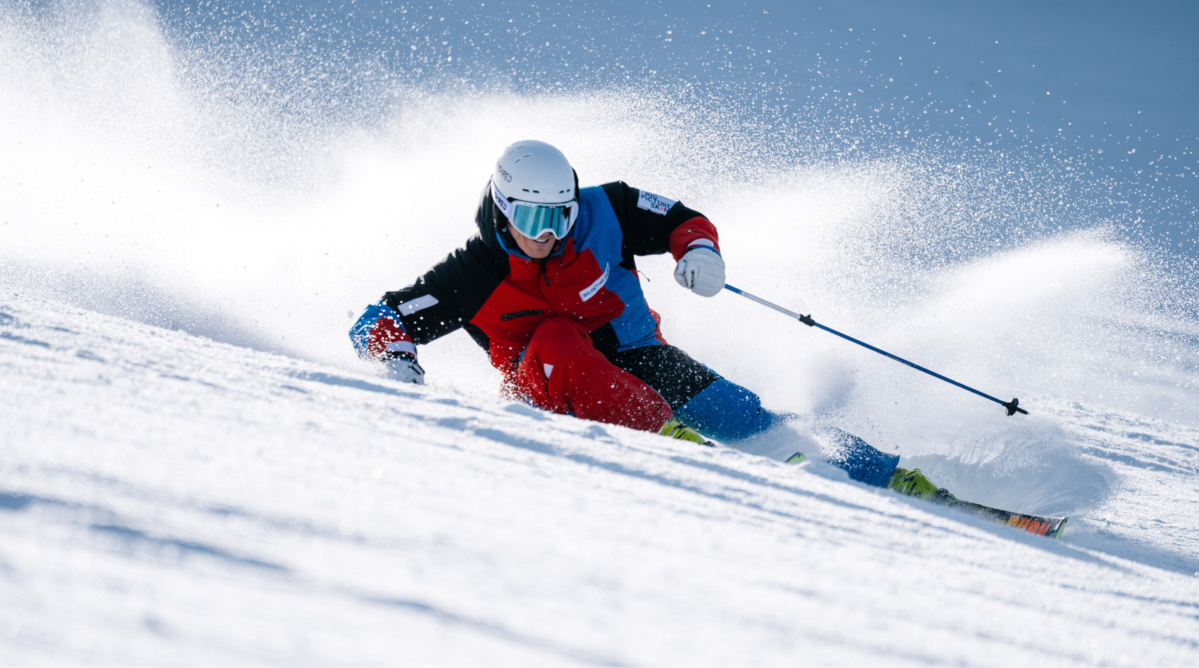
5 gear fixes to improve your skiing from the first turn

Votes:
Most skiers think progress only starts once they’re back on snow. But the truth is, your setup can shape every turn before you even clip in.
The right gear doesn’t just feel comfortable, it makes skiing easier. From boot alignment to tuned edges, small tweaks can unlock the control, balance, and confidence you’ve been missing.
With ski trips just around the corner, a few quick fixes at home could make your first day on the slopes feel like your best day yet.
Carv Pro Tom Gellie shares five simple gear checks that can transform how your skiing feels from your first run.
Tom Gellie is a ski coach who’s reshaping the way people learn and experience skiing. As a Level 4 Instructor and former Examiner, he’s worked with skiers from all over the world, helping them not just ski better but truly understand the “why” behind great technique.
For the past five years, Tom has partnered with Carv, producing best-in-class ski content that combines his extensive expertise in coaching and biomechanics with Carv’s cutting-edge data, making high-level skiing knowledge accessible to everyone.
For the past five years, Tom has partnered with Carv, producing best-in-class ski content that combines his extensive expertise in coaching and biomechanics with Carv’s cutting-edge data, making high-level skiing knowledge accessible to everyone.
Over to you, Tom.

1. Ski Tune
Let’s start with the simplest and most overlooked fix: your ski tune. If your skis chatter or feel unpredictable on hard snow, your edges could be to blame.
Why it matters
A consistent tune gives you predictable grip, trust in your skis, and confidence on every turn. Most skiers don’t realise how quickly edges dull, especially in variable or icy conditions. If you’ve ever wondered why one day feels great and the next feels sketchy, it could be your edges, not you.
How to check
- Visual check: Look for obvious burrs, dents, or rust along the edge.
- Fingernail test: Run your nail gently at a 45° angle along the edge. If it scrapes a little nail off, your skis are sharp. If not, they need tuning.
- Base check: Look at the base. If it looks white or dry (instead of smooth, black, and shiny), that’s oxidation, the ski’s equivalent of rust, and it needs waxing.
What good feels like
- Your edges grip when you expect them to, not unpredictably.
- Your skis glide easily, especially when pushing across to the lift.
- Your turns feel smoother, more controlled, and less tiring.
Pro Tip
Ask a shop for a 2° side edge and 1° base bevel. That setup gives enough grip while staying forgiving in mixed terrain. If you ski a lot on harder snow and want more edge hold, go for a 3° side edge. It’s a small change that makes a big difference.
The takeaway
Don’t wait until mid-season. Get your skis sharpened every few days of skiing, or even daily if the snow is aggressive or dirty. Edges can dull faster than you think. A sharp ski = instant confidence.

2. Boots and Ankle Flex
What it is
Think of your ankles as your suspension. If your boots block that movement, everything feels harder: balance, edging, flow. This is one of the most common issues I see, and it can stop your skiing improving even if your technique is solid.
Why it matters
This is way more common than people realise. I see so many skiers stuck in boots that don’t actually let them move, either because they’re too stiff or just badly designed.
How to check
Put your boots on at home, stand in front of a mirror, and flex forward like you’re skiing. Do your knees actually move forward, shifting pressure smoothly from heel to toe? Or do you feel blocked? If it’s the latter, your boots are working against you.
What good feels like
- Snug but comfortable: your foot should feel held, but not crushed.
- Easy, controlled flex: you should be able to shift balance forward and back without fighting the boot.
When you can flex your ankles, everything improves. Your balance feels dynamic, your edging is sharper, and your skiing feels smoother. And if you’re using Carv, this is one of the easiest wins: check your metrics before and after you’ve dialled your boot fit, you’ll see nearly all of them climb.
Pro Tip
The flex rating number on the side of the boot is only half the story. Plastic type, cuff height, and boot design all change how a boot actually feels. Try at least two or three boots in your range, and notice which one lets you flex naturally.
The takeaway
Boots that you can flex don’t just make you more comfortable, they unlock the suspension in your skiing, and that means more control, more style, and way more fun.
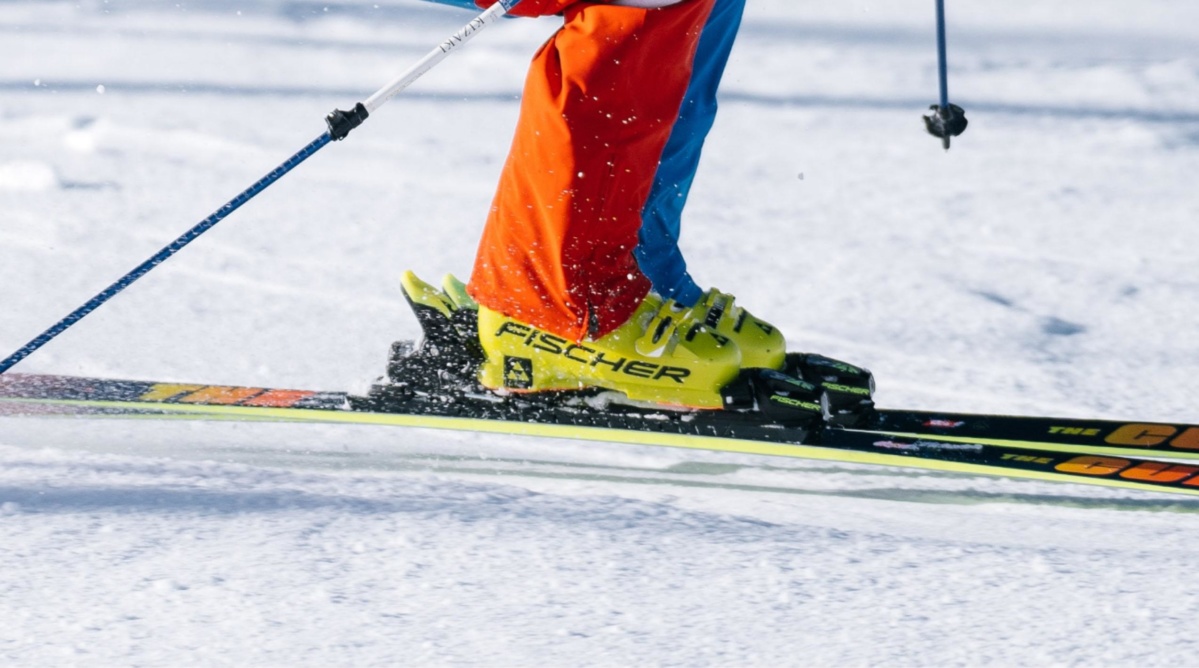
3. Ramp Angle
Why it matters
- Too much ramp angle tips you forward unnaturally, so you end up sitting back to compensate.
- Too little ramp angle and you’ll struggle to get pressure on the front of the ski.
- The sweet spot for most skiers is between 2.5° and 4°, with ~3° being the goldilocks zone.
How to check
Take out the boot board (under the liner) and look at the difference between heel and toe height.
Better yet, get a boot fitter to measure it properly.
The takeaway
It’s a small detail, but ramp angle massively affects balance. Get it wrong and you’re fighting your stance every turn. Get it right and suddenly skiing feels natural, centred, and way easier.
4. Pole Length
What it is
Poles might seem like an afterthought, but they can make or break your rhythm. Get them wrong, and they’ll either trip you up or leave you feeling wobbly.
Why it matters
If your poles are too long, they block smooth transitions between turns.
If they’re too short, you lose stability and timing.
How to check
Stand in an athletic skiing stance (knees bent), holding your poles. Your elbows should be at roughly a 90° angle. Most people size poles standing straight in a shop, which almost always makes them too long.
Pro Tip
Adjustable poles are your friend.
- Shorter for steeps and moguls.
- Slightly longer for carving and cruising.
For reference: I’m 5’11” (180cm) and ski with 115cm poles for carving, 110cm for steeps or moguls, and 105cm for really big moguls.
And when it comes to pole baskets, keep it simple. Smaller baskets are lighter and swing faster, which is ideal for most skiing. Only go for big, wide baskets if you’re skiing deep powder or touring.
Takeaway
Poles are more than just accessories. Get the length right, and they’ll give you smoother rhythm, cleaner transitions, and better balance on every run.

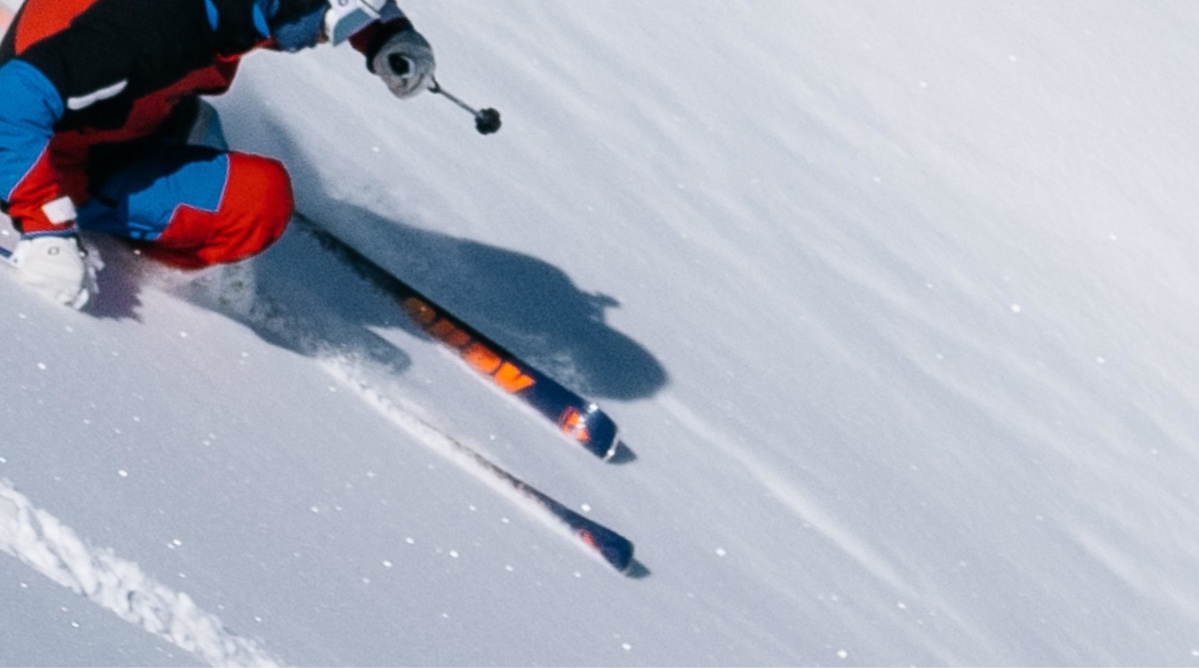
5. Ski Width and Radius
What it is
Ski width is the measurement underfoot (the middle of the ski). Radius is how tight the ski is designed to turn. Together, these two things massively affect how easy (or hard) it is to carve.
Why it matters
Many skiers are on skis that are simply too wide - usually 90mm+ underfoot - and with a long turn radius. They might feel versatile, but the trade-off is they’re much harder to carve. Instead of the ski pulling you into the turn, you’re forced to skid - and that slows down your progress.
How to check
If you’re getting carving skis here’s a guide:
- For firm snow: look for skis 66–76mm underfoot.
- For softer snow: 70–80mm underfoot.
- Turn radius sweet spot: 12–16m - this lets you feel the ski “hook up” and carve.
- Note: these numbers will look a bit different for all mountain and powder skis.
Takeaway
Don’t buy skis for the one or two powder days you hope for… buy for the snow you ski most often. Narrower skis let you learn carving faster, and once you’ve locked in that feeling, you can take it with you onto wider skis later. If you do want to try out some powder skis on a good conditions day, head to your nearest rental shop!
Jenny’s ramp angle
Jenny had been skiing for years, before I taught her. She had always been told she needed to “flex her ankles.” She tried, her ankles were sore from the effort, but it never clicked. Over lunch one day, we checked her boots and discovered the ramp angle was over 5°, maybe even 6° in her small size. That steep angle forced her into the backseat and blocked her ankle flex.
We slipped a thin piece of cardboard under the toe to flatten the angle closer to 3°. The difference was immediate. Even standing still, she could balance more easily. Back on snow, she was skiing faster, edging better, and smiling: “Wow, is this what you all feel when you ski? I thought I just wasn’t very good!” That tiny ramp-angle tweak transformed her balance, edging, and confidence in a single run.
Rosie’s ski swap
When the Carv team and I were filming on the Hintertux Glacier in Austria, Rosie from the Carv team was skiing her usual 95mm all-mountain skis. We suggested she try narrower carving skis with sharper edges and a shorter turn radius. Straight away, the change was clear: her Carv Ski:IQ jumped nearly 10 points.
With the new skis, she could finally feel the carve. Coaching cues started working better because the skis responded properly, and the firmer snow conditions suited the setup perfectly. The lesson was simple: the right ski underfoot can accelerate your learning dramatically.
Mark’s tune
Mark from the Carv team had been filming on wide, dull-edged twin-tip skis, which are fine for skidding around with a camera, but terrible for carving. As soon as he switched to sharp, freshly tuned carving skis, everything changed. His turns became cleaner, his edging sharper.
On that trip, the snow was so aggressive that even my own skis dulled noticeably by the end of each day, so I sharpened them nightly.
It’s a reminder that edges can lose their bite within hours, not just weeks. Keeping them sharp is one of the simplest ways to make skiing feel easier and more reliable.
End
Getting your setup right is one of the easiest ways to ski better - no new skills required.
Before you step onto snow this season, take ten minutes to make sure your gear is working with you, not against you.
You’ll start your next trip feeling more balanced, more in control, and ready to ski your best from the very first turn.

Written by: Tom Gellie
APSI Level 4
Tom is an industry-leading ski coach and instructor. He operates an online coaching platform called Big Picture Skiing, which helps people understand their skiing and improve their mobility.
To find out more, head to www.bigpictureskiing.com.