Carving Tips for Beginners
Votes:
Carving is one of the essential ski techniques. Once you’ve mastered it, not only will you be able to confidently tackle whatever the slopes throw at you, but the feeling of sweeping down a run as your edges bite into the snow, creating perfect carving turns is a tough one to beat.
No matter where you are on your carving journey, there is always room for improvement and refinement to correct any bad habits, so follow these tips and drills and you’ll be a pro in no time.

Back to basics
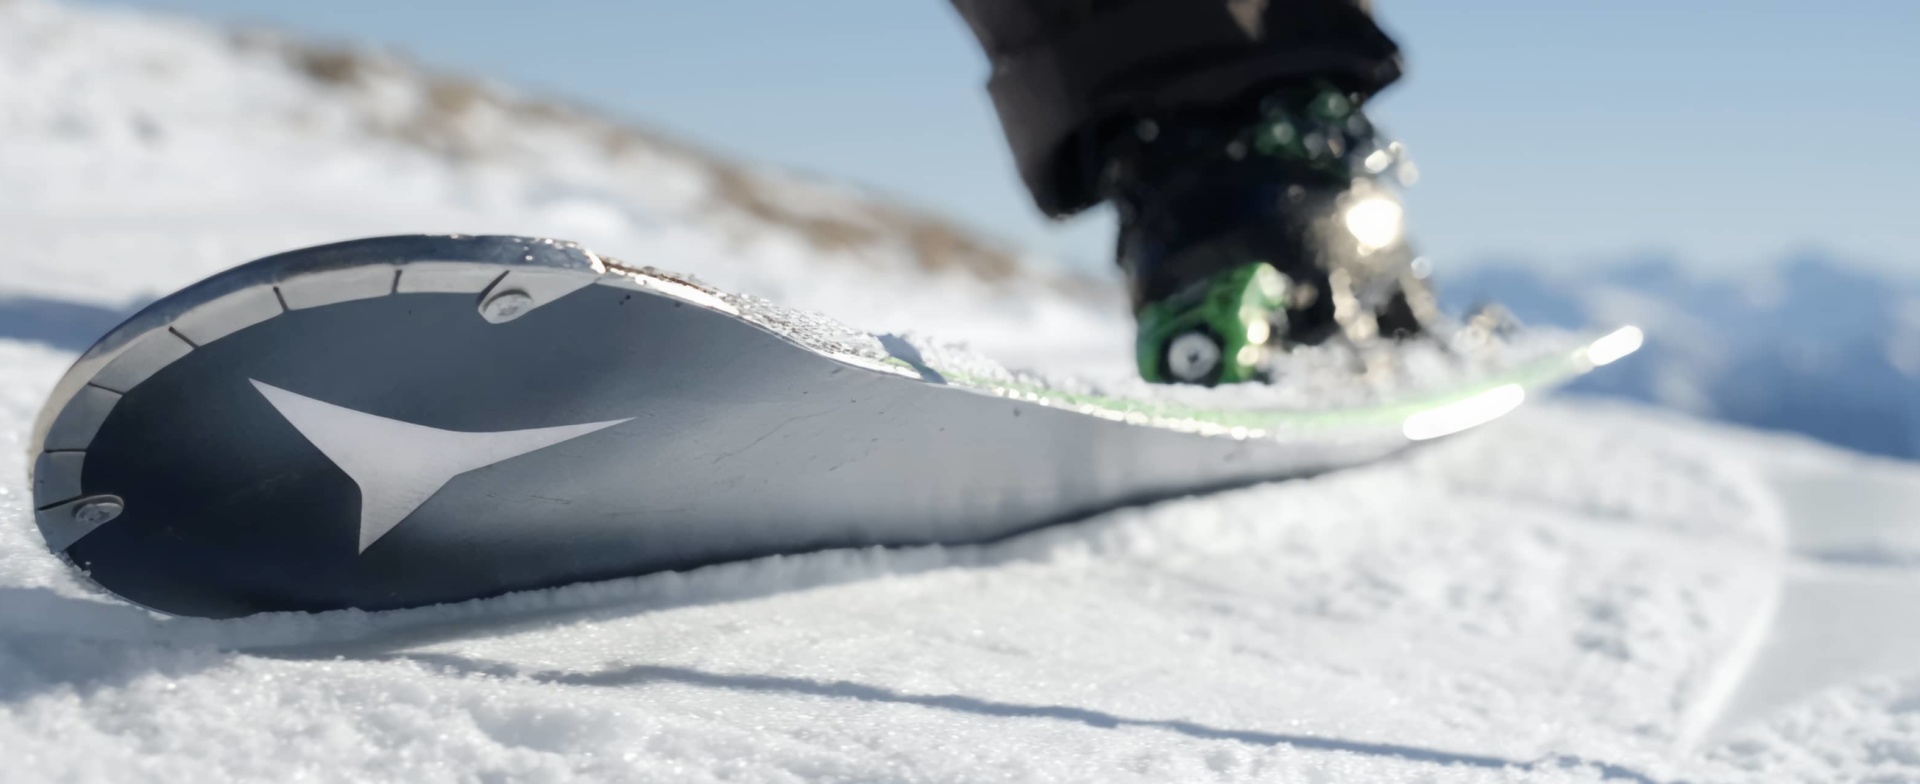
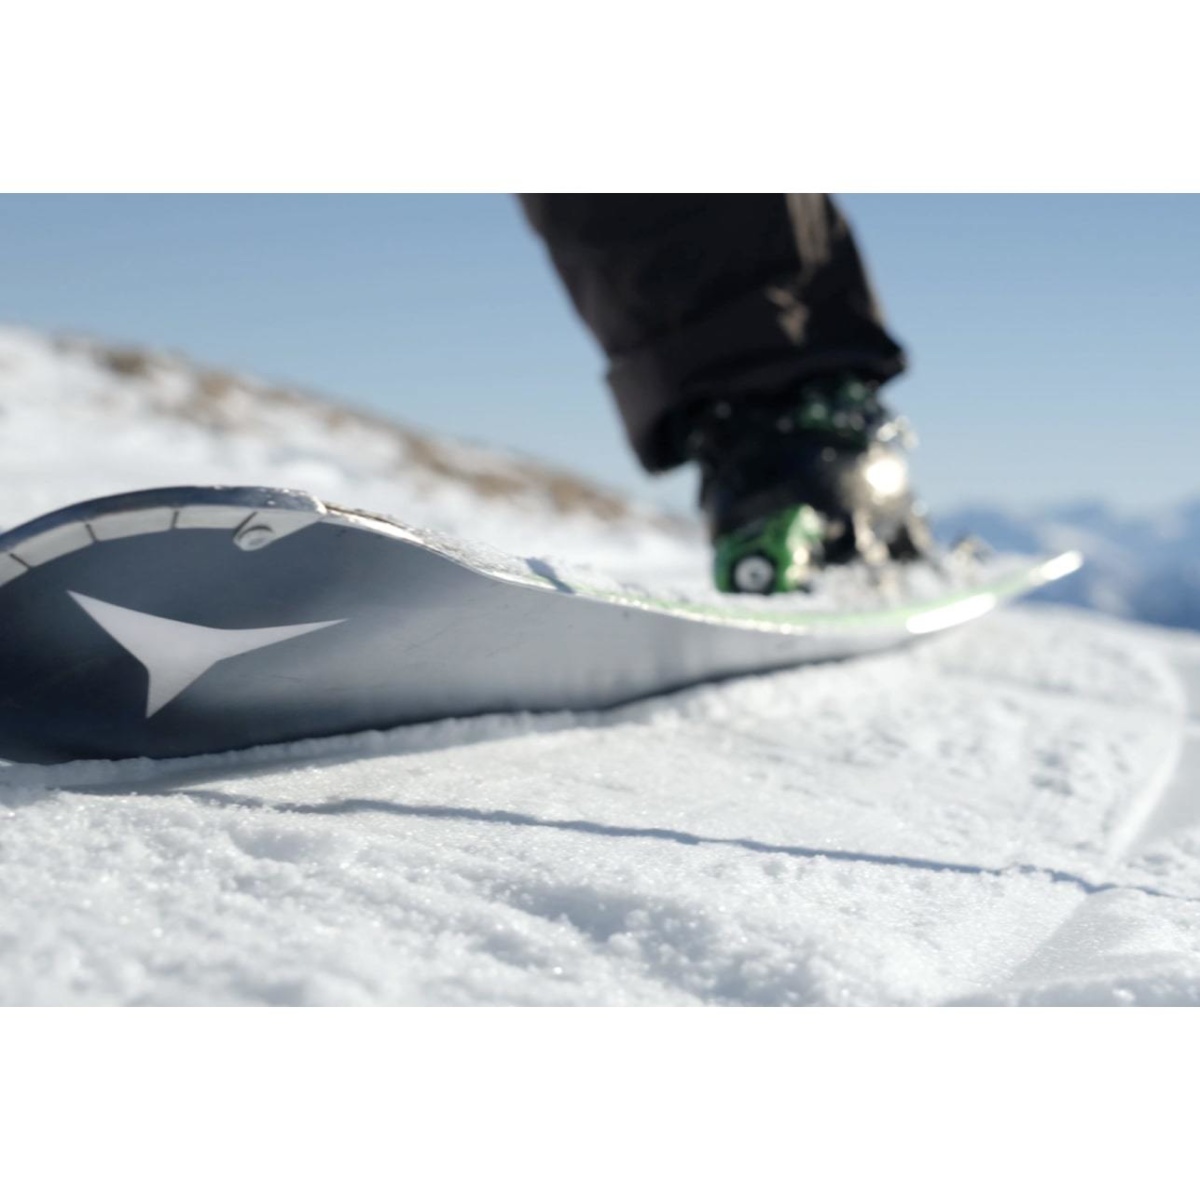
To kick things off, a basic knowledge of how skis work is helpful in understanding carving. Modern skis have a thin waist (the middle of the ski, where the binding sits) and wider a tail and tip. When the ski is put on its edge and pressure is applied to the middle of the ski, it bends, which creates your turn. (1:03) The higher the edge angle the sharper the turn.

What's the difference between skidded parallel turns and carving turns?
Next, we can look at the difference between skidded parallel turns and carving turns. When you’re making skidded turns, you’re rotating your feet to steer the skis while they’re rather flat to the snow. (1:56) This is good for bumps, powder and short turns, but not as useful as carving turns.

When carving you’re going sideways from edge to edge, causing your skis to cleanly slice through the snow leaving no spray and nice tracks. This is the goal! (2:14)
Before you get started trying these tips for yourself, choose some good terrain to practice on. Ideally a green or blue slope, which is fairly flat so you don’t build up too much speed. It is also good if the slope is long and quiet so you can do your drills without having to dodge other skiers!
Get the feeling for it
Once you’ve found a suitable slope that is fairly flat and quiet you can get started. We’re beginning with traversing - this will allow you to feel the side cut of the skis. If you stand horizontally on the slope you will naturally be on your skis’ edges. Push yourself off and ski across and you’ll find that your skis will take you uphill slightly without you doing anything, your first taste of carving!
(3:36) Point your skis a few degrees downhill and try the same again - the extra speed will cause your skis to take you a little further uphill this time.

The J turn!
Now you’re ready to try a J-turn (not named after Jens..!) (4:00) Same idea as before, but you’ll need to build up more speed so that your turn creates the J-shaped tracks we’re after. When turning, roll your ankles and knees and let your hips move towards your inside ski - this will bring your skis up onto their edges, creating that nice carved turn. If you’re struggling to get a clean J shape then you may be over-rotating and turning the skis uphill, losing the carve and grip it creates.

You also need to keep your weight over the centre of the ski. If you’re leaning too far forwards then the tail of the ski will lift, causing it to skid. (5:34)

Next up - railroads!
This is one you can try at home first. Put your ski boots on and take up the skiers position. Now roll your feet from big toe to little toe in unison. (6:28) You should be using your feet to start the movement, then bringing in your knees. Try doing this in front of a mirror, so you can check that both feet are working in sync.
Once you’ve got that down, put your skis on!

Start by rolling your feet and ankles from left to ri ght, then add the knee movement. (7:12) Keep checking your tracks - if the distance between your skis is changing as you turn then you’re not putting both feet at the same angle.
Hit those edges
Now we’re moving on to edge angle. The optimal edge angle depends on the steepness and snow conditions of the slope.
If the angle is high enough you can control speed and avoid slipping into a skidded turn no matter how steep or treacherous the slope! (8:32)
Perfect your transitions
So far we’ve focused on the turns themselves, but the transition between them is important also. To work on this, face your skis slightly downhill (on a flat slope!) and lean your hips towards the slope - you can rest on your poles for support.

Pressure should be on the outside leg, so you can lift the inside leg. (10:50) Soften outside leg that is now becoming your inside leg and fall over the skis onto the other side.
(11:19) This movement allows you to feel the correct position you should be in as you transition from turn to turn.

Pole drags
Taking this a step further, we’re going to try a pole drag. As you turn, drag your outside pole while holding your inside pole up in the air (12:22). This will help you to transition into the turn smoothly and help your upper body remain upright.
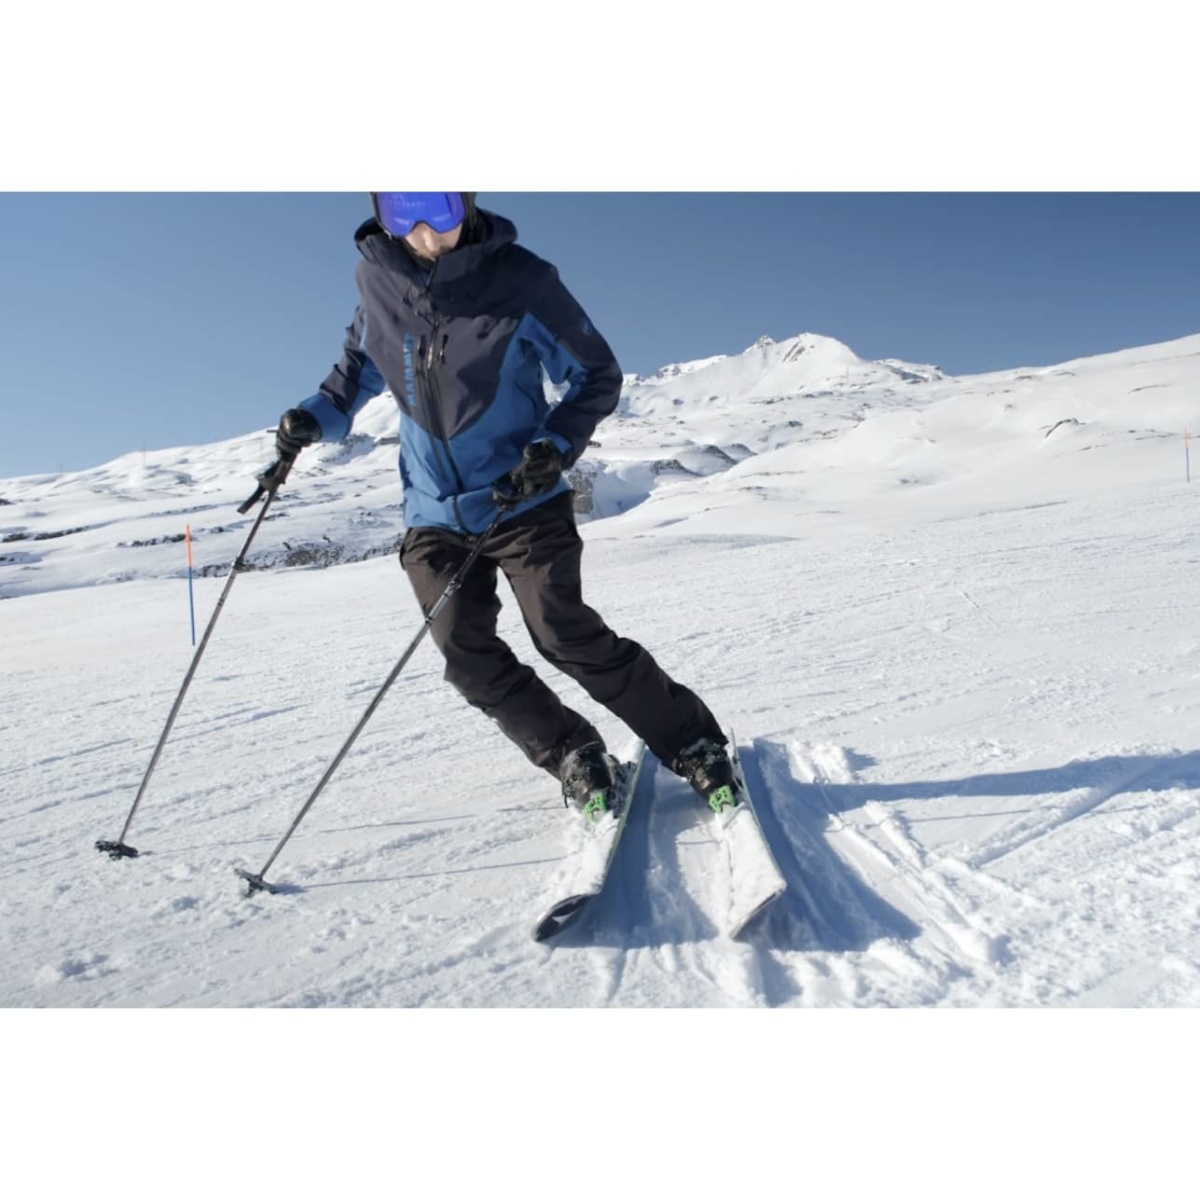
Finally - put all these tips into practice and try to achieve mad angles!

Have a sit and feel this position so you know what max edge angle feels like. This is the final frontier of carving when your whole body is aligned and during a turn you’re creating edge angles high enough that your outside leg is almost straightened against the snow! (13:26) Now you’ve used our tips, enjoy your new skills! You can have some fun and play around with practising! Draw beautiful lines and challenge yourself to try different sized turns.
If you want to become an even better skier and have some fun doing it, then join one of your Stomp It ski camps. Our awesome instructors will help you to take your skiing to the next level with personalised coaching while tracking your progress with Carv digital ski coach.
Join one of our Stomp It Camps in Laax or Zermatt.
Sign up now and use the discount code CARV to save €150CHF.

Written by: Stomp It Tutorials
Ski technique and freestyle camps
Stomp It Tutorials lead in-person technique camps in Zermatt and Laax, Switzerland, where they combine Carv's objective analysis with in-person coaching to push your skiing technique to the next level.